andalusian
Season - Restarted
- Joined
- Sep 24, 2008
- Messages
- 15,508
- Likes
- 15,170
- Points
- 113
Oceanside, CA
Follow along with the video below to see how to install our site as a web app on your home screen.
Note: This feature may not be available in some browsers.
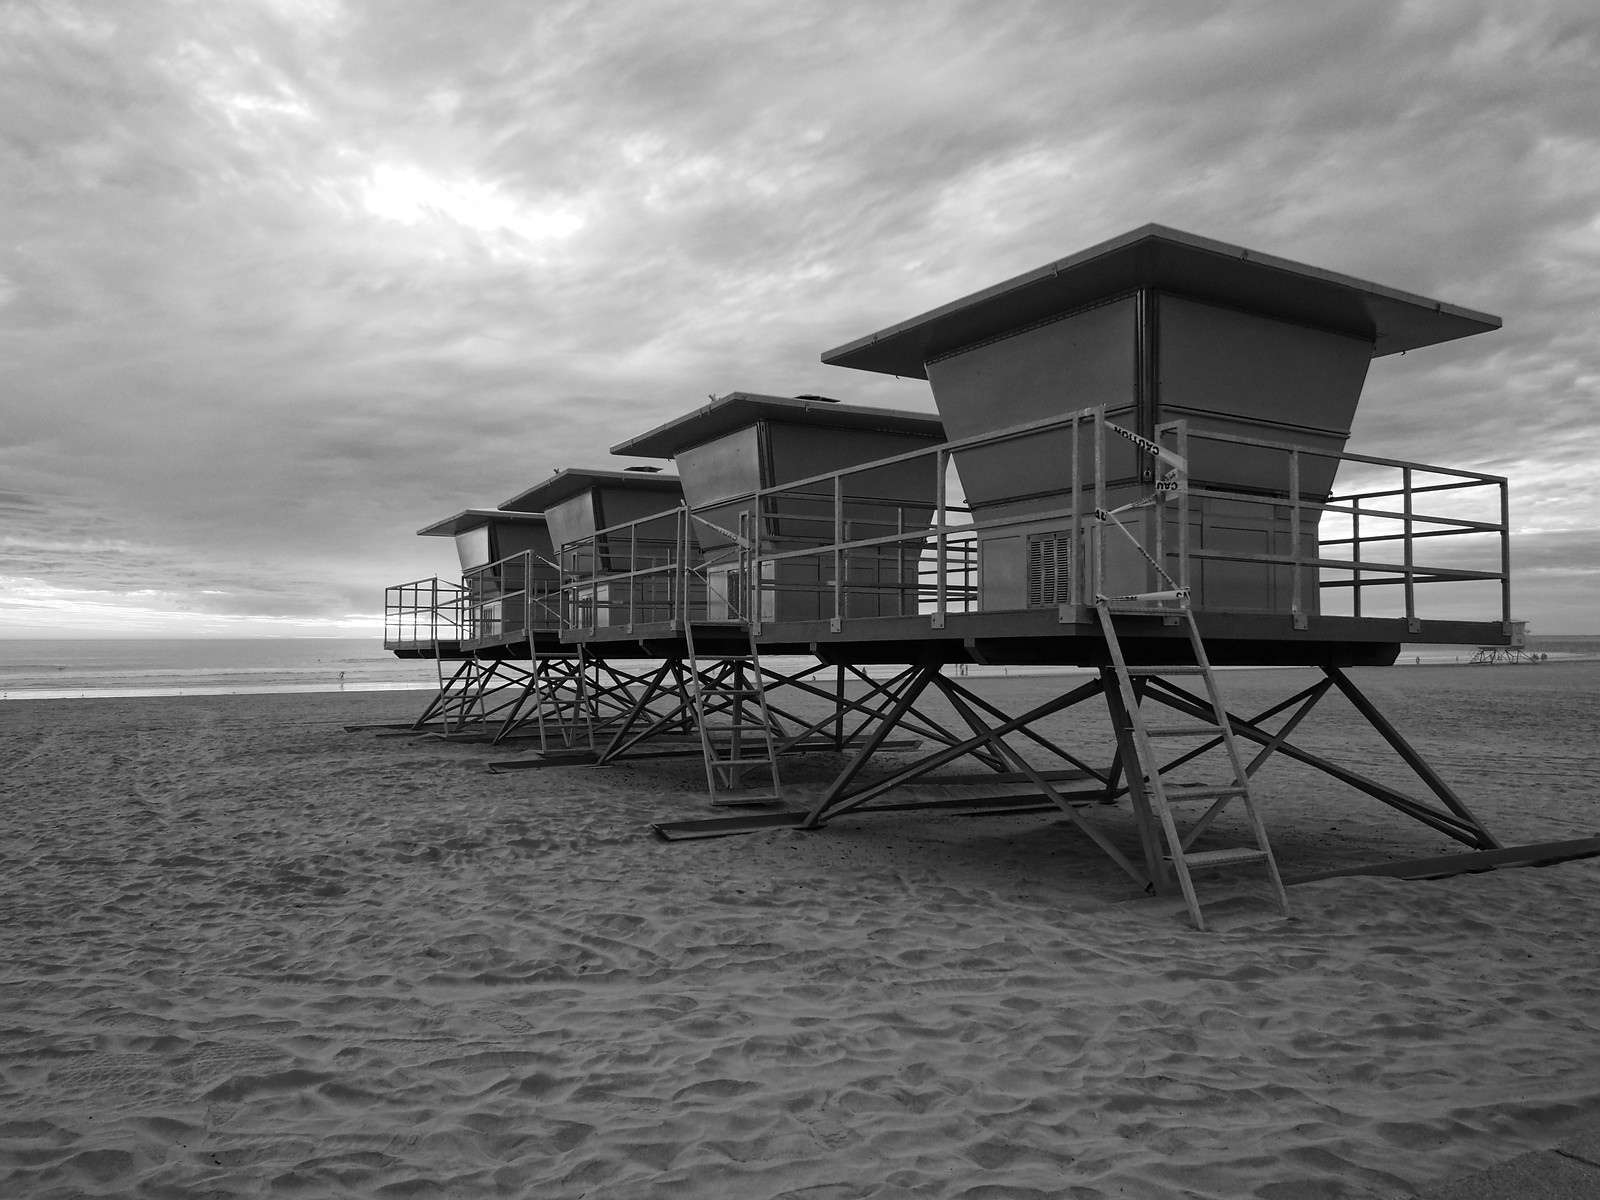
Black and white beach shots when the clouds are out…..love the texture FAMS!
Oceanside, CA

Location?


Beautiful shots man. It’s amazing how black and white images have such a different look. Can make a basic picture of a 24 hour fitness look incredible.
I wish I knew more about photography. Like how things work and what makes what look like what. Every now and then I’ll edit my shots to black and white and get lucky.I think B&W is tricky, but high-contrast B&W sure has a "look" that I like. This means that the dark blacks and the very bright whites hide a lot of the ugly details that can make a normal looking building interesting. Does not work for anything, but for some things...

I wish I knew more about photography. Like how things work and what makes what look like what. Every now and then I’ll edit my shots to black and white and get lucky.
View attachment 70206
Thanks for the advice. Love learning all I can. I used the color version of this shot when I shared on Instagram.I like this photo - the top floor is the right exposure for the highlights, I think, the lower one is maybe too bright? With cameras that have manual controls (and I think most modern smartphones have that as well) usually allow you to set "exposure compensation" - making things a bit darker / lighter as needed. I think that if you shoot a small sensor camera (like a smartphone), it is usually a good idea to "protect the highlights" - give it a bit of exposure compensation to make it look darker - it means you can recover some details from the light areas. (something like a -0.3 or -0.7 compensation in the case above).
One of the issues of the smart-phone cameras (or most small sensor cameras) is that they will have a limited dynamic range - so a scene that has a lot of dark and a lot very bright areas will have some detail loss at one of the ends (based on what you meter your exposure to). That's one of the advantages of bigger sensors - but obviously it comes at a cost of size of cameras and lenses. I usually shoot a Micro 4/3 camera, it has a smaller sensor by stand alone camera standards but it is much bigger than a smartphone sensor - so it's a pretty decent trade off for my use.
Thanks for the advice. Love learning all I can. I used the color version of this shot when I shared on Instagram.
I know this sounds like a complicated procedure, but if you are used to your camera (mine is from 2013, I am used to it by now) - this is really nothing I need to think of. I have a dedicated button that temporary changes the metering mode to center, so my procedure would be to press that button, put the area I want to meter in the center, half-press the shutter, press the AEL / AFL button, re-compose and take the shot. A lot of steps - but really nothing that would slow me down at this point because the ergonomics are pretty good on my old camera and I have the muscle memory to do that.
Thanks so much for this info. I’ll try to go find the original.
View attachment 70213
I have an even simpler procedure:
1) Click the random picture thread
2) look at the pretty pictures
barfo


Dope,always wanted to go out there.
Near Joshua Tree "town" (not in the N/P)
Everyone should visit JTNP, it's as close to walking on an alien planet as most of us will get.Dope,always wanted to go out there.


Looks like a setting for a scene in No Country For Old Men.
Olympus OMD E-M10 iii w/ Panasonic Lumix G X Vario 12-35mm 2.8 ASPH
Joshua Tree, CA
What a great movie that wasLooks like a setting for a scene in No Country For Old Men.


